Installing FlowTraq is a three-step process.
Install FlowTraq Server.
Install FlowTraq Client.
Configure FlowTraq and all flow sources.
The following sections outline steps 1 and 2 on each supported platform; step 3 is covered in the next two chapters.
Before installing FlowTraq Server, please note the following:
![[Important]](../common/images/admon/important.png) | Important |
|---|---|
On busy networks or when collecting from a large number of exporters, FlowTraq Server can put a heavy load on a system. We strongly recommend installing FlowTraq on a dedicated server. |
![[Caution]](../common/images/admon/caution.png) | Caution |
|---|---|
If you are upgrading an existing FlowTraq Server installation, the installer will shut down FlowTraq Server, install the new version, and restart FlowTraq Server. During the upgrade process, no flows will be recorded. |
![[Tip]](../common/images/admon/tip.png) | Tip |
|---|---|
FlowTraq Server will not be able to collect any flow data if another flow collector is running on the same system because it will be unable to bind the required listen ports. Please remove or disable any other flow collector software before installing FlowTraq. |
![[Tip]](../common/images/admon/tip.png) | Tip |
|---|---|
Many operating systems have host-based firewalls configured by default to block inbound traffic on frequently-used flow listen ports. FlowTraq Server's default listen ports UDP/2055 (NetFlow/IPFIX over UDP), UDP/9666 and UDP/9996 (cFlow/jFlow), UDP/6343 (sFlow), and TCP/9640 (FlowTraq Client connections). Please ensure traffic on these, and any other ports on which you will configure flow collection, can reach the machine running FlowTraq Server. |
On the Windows platform, FlowTraq Server is distributed as a self-extracting installer.
![[Important]](../common/images/admon/important.png) | Important |
|---|---|
You must be logged in as an administrator to install or upgrade FlowTraq Server. |
Download the installer from the FlowTraq download site.
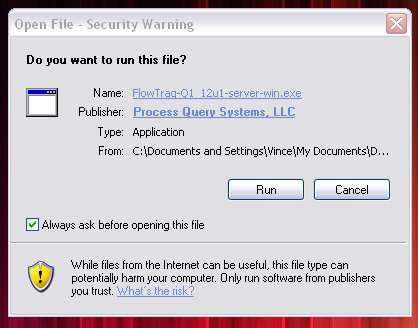
Double-click the file to launch the installer, then follow the on-screen instructions to complete the installation process.
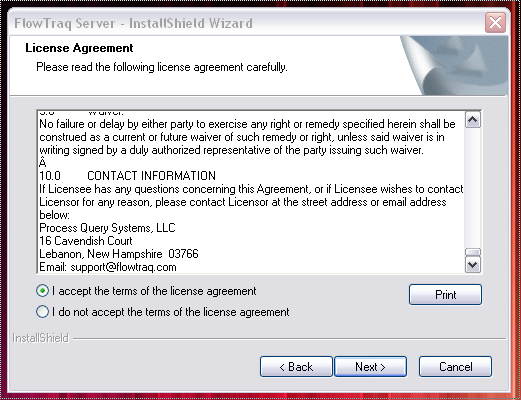
Review the license agreement and click the radio button to indicate your acceptance, then click "Next" .
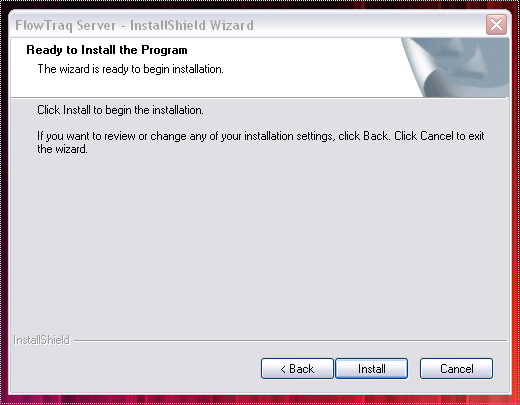
Click "Install" to install FlowTraq Server.
On Unix platforms (including Mac OS X), FlowTraq Server is installed with a universal install script that detects your platform and selects and installs a compatible binary and startup scripts for your platform. The following Unix platforms are supported:
Table 2.2. FlowTraq Unix Server Platform Support
| Platform | Architecture | Startup Method |
|---|---|---|
| Debian Linux, Ubuntu Linux, and variants | 32-bit Intel (x86), 64-bit Intel (x86-64) | Using /etc/init.d and /etc/rc* |
| RedHat Linux, CentOS, and variants | 32-bit Intel (x86), 64-bit Intel (x86-64) | Using the chkconfig system |
| SUSE Linux, OpenSUSE and variants | 32-bit Intel (x86), 64-bit Intel (x86-64) | Using /etc/sbin/rc* |
| Solaris | 64-bit SPARC, 64-bit Intel (x86-64) | Using SVC manifests |
| FreeBSD | 32-bit, 64-bit Intel (x86-64) | Using /etc/rc.d |
| Mac OS X | 64-bit Intel (x86-64) | Using launchd |
To install FlowTraq Server, take the following steps.
Download the universal Unix installer (
FlowTraq-QX_XX-PLATFORM-server.sh.gz, whereQX_XXrepresents the current version of FlowTraq).Unzip the installer:
$ gunzip FlowTraq-QX_XX-PLATFORM-server.sh.gz
This produces
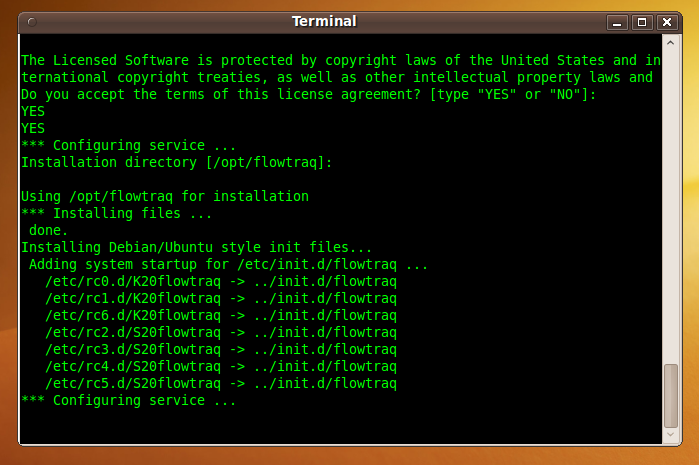
FlowTraq-QX_XX-PLATFORM-server.sh.Run the installer with superuser privileges, either by running as root or via
sudo:$ sudo sh FlowTraq-QX_XX-PLATFORM-server.sh
Press
[SPACE]to page through the license agreement, and typeYESwhen prompted to indicate your acceptance.If this is a new installation, you will be asked to select the installation directory. You can press
[ENTER]to accept the default installation directory, or you can specify your own.![[Important]](../common/images/admon/important.png)
Important The permissions on the installation directory needs allow the
flowtraqprocess to write to the directory, as it will update various items at runtime.If you are upgrading an existing FlowTraq Server installation, the current configuration is retained and the new server daemon is started right away.
Before installing FlowTraq Client, please note the following:
![[Caution]](../common/images/admon/caution.png) | Caution |
|---|---|
FlowTraq Client requires a Java Runtime Environment (JRE), version 1.5+, provided by Sun Microsystems/Oracle. If you do not have a compatible Java Runtime Environment installed, please visit http://java.com/ to download and install a compatible JRE before proceeding. |
On the Windows platform, FlowTraq Client is distributed as a self-extracting installer.
Install FlowTraq Client by taking the following steps.
Download the installer from the FlowTraq download site.
Double-click the file to launch the installer, then follow the on-screen instructions to complete the installation process.
Review the license agreement and click the radio button to indicate your acceptance, then click "Next" .
Click "Install" to install FlowTraq Client.
Launch FlowTraq Client from the Start Menu.
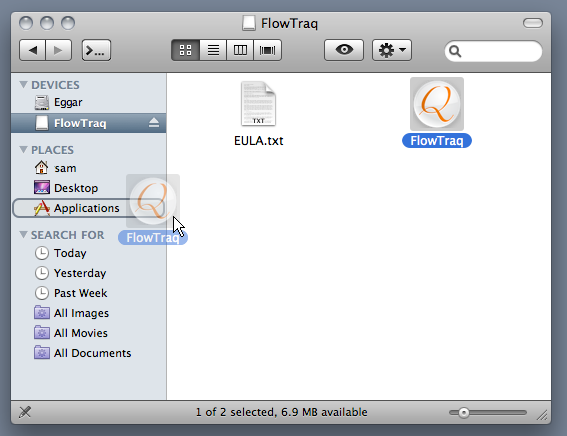
On Mac OS X, FlowTraq Client is distributed as a mountable DMG disk image containing the application.
On Unix platforms, FlowTraq Client is installed with a universal install script that installs client libraries and startup scripts, similarly to FlowTraq Server. The Unix platforms supported by FlowTraq Client are the same as those supported by FlowTraq Server.
To install FlowTraq Client, take the following steps.
Download the universal Unix installer (
FlowTraq-QX_XX-PLATFORM.sh.gz, whereQX_XXrepresents the current version of FlowTraq).Unzip the installer:
$ gunzip FlowTraq-QX_XX-PLATFORM.sh.gz
This produces
FlowTraq-QX_XX-PLATFORM.sh.Run the installer with superuser privileges, either by running as root or via
sudo:$ sudo sh FlowTraq-QX_XX-PLATFORM.sh
Press
[SPACE]to page through the license agreement, and typeYESwhen prompted to indicate your acceptance.You will be asked to select the installation directory. You can press
[ENTER]to accept the default installation directory, or you can specify your own.A link to the startup script will be placed in
/usr/local/bin. If your path contains that directory, you can launch FlowTraq Client by invoking theflowtraq-client. Otherwise, invoke/usr/local/bin/flowtraq-client.

